前言
migrate走到最後終於把前置材料都準備好要寫進db啦!!稍微回顧一下前面準備了什麼,最開始先把database load進來,接著比對了disk和database裡的table這當中還生出了migration graph,再來跟著我們下的command看處理額外對應的參數,準備好migration plan和project state後,開始處理migrate~
正題
開挖migrate

挖
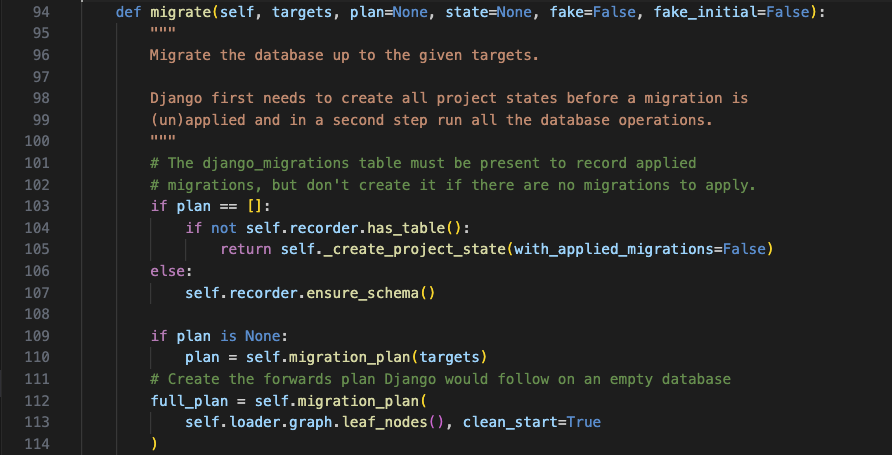
這邊我們就挑關鍵來看,也就是實際有尚未migrate的migration會怎麼處理(一般情境),根據我試驗了幾次(一直修改某個table)發現大概流向

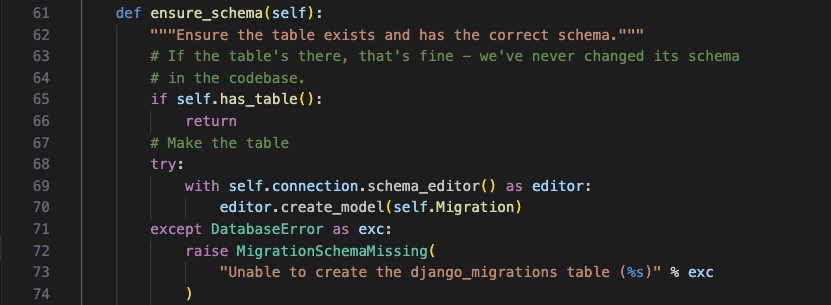
會先去檢查migration table是否存在,不存在的話能不能正常建立,也就是說建立db的關鍵就是self.connection.schema_editor()這個function啦!!(self.connection == sqlite3.base.DatabaseWrapper)
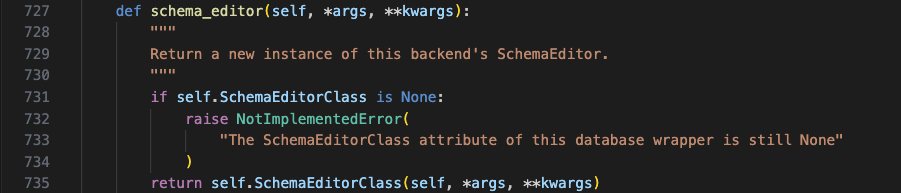
那我們就來看看schema_editor吧!

那還記得with的用法嗎!?忘記的趕快去google~~
終於是看到SQL啦!接著是with用法~
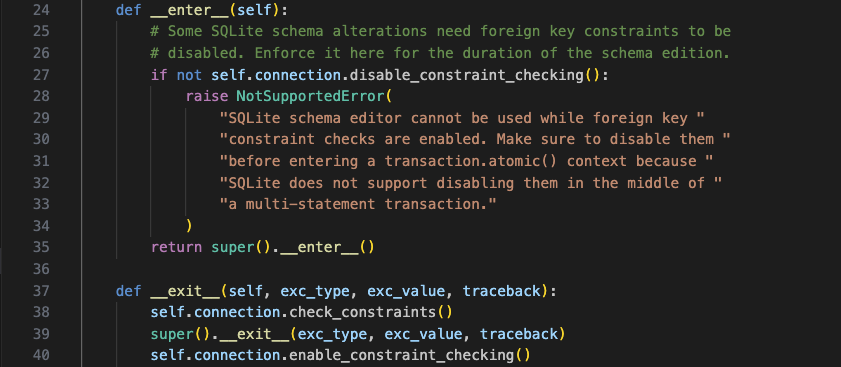
再去看父類別的

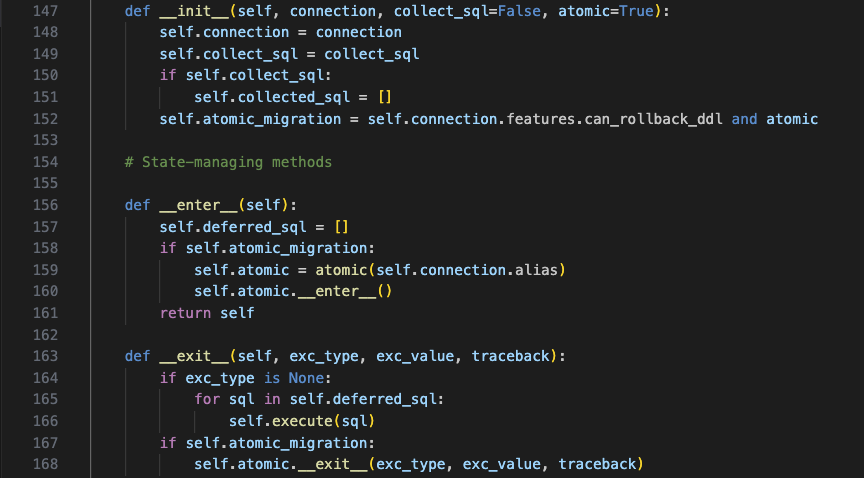
with進出的過程
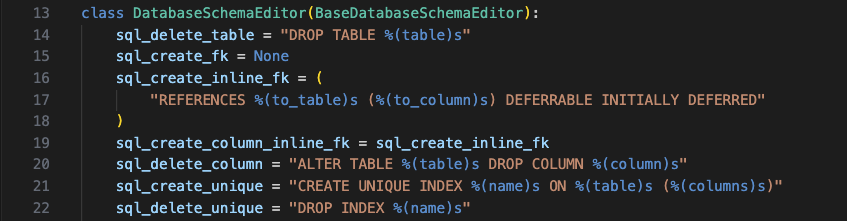
那我們知道with self.connection.schema_editor()會給我們DatabaseSchemaEditor()
接著往下看create_model()

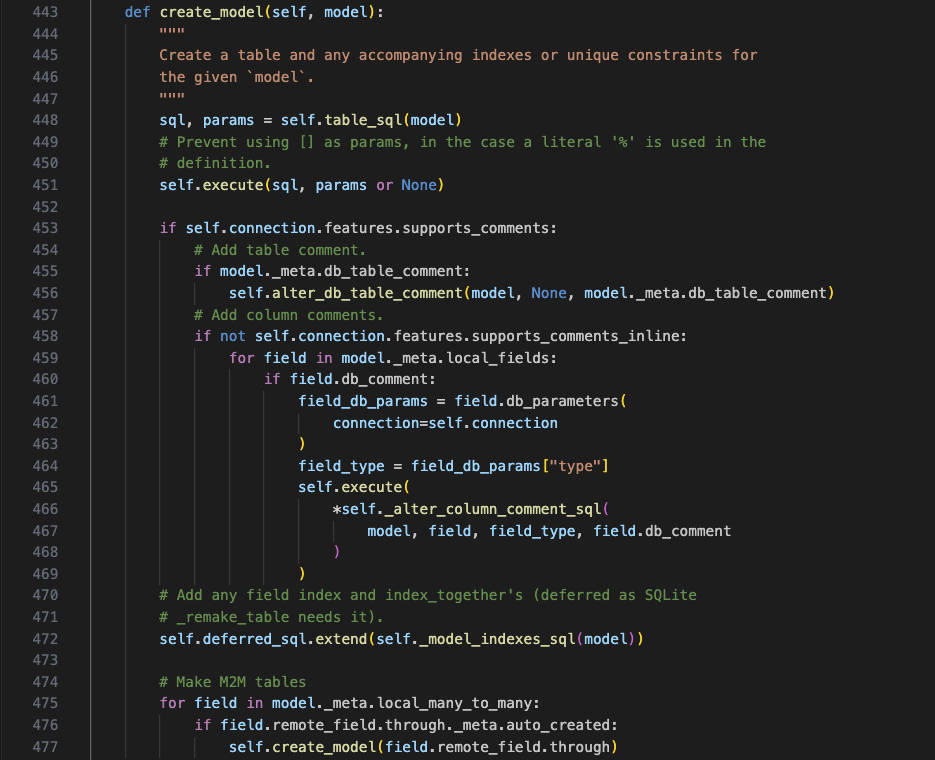
看第一行self.table_sql(model)model是誰呢,是這個
如果把sql print出來會長怎樣呢?CREATE TABLE "django_migrations" ("id" integer NOT NULL PRIMARY KEY AUTOINCREMENT, "app" varchar(255) NOT NULL, "name" varchar(255) NOT NULL, "applied" datetime NOT NULL)
這個神奇的function以後我們再來看!
接著就是self.execute()
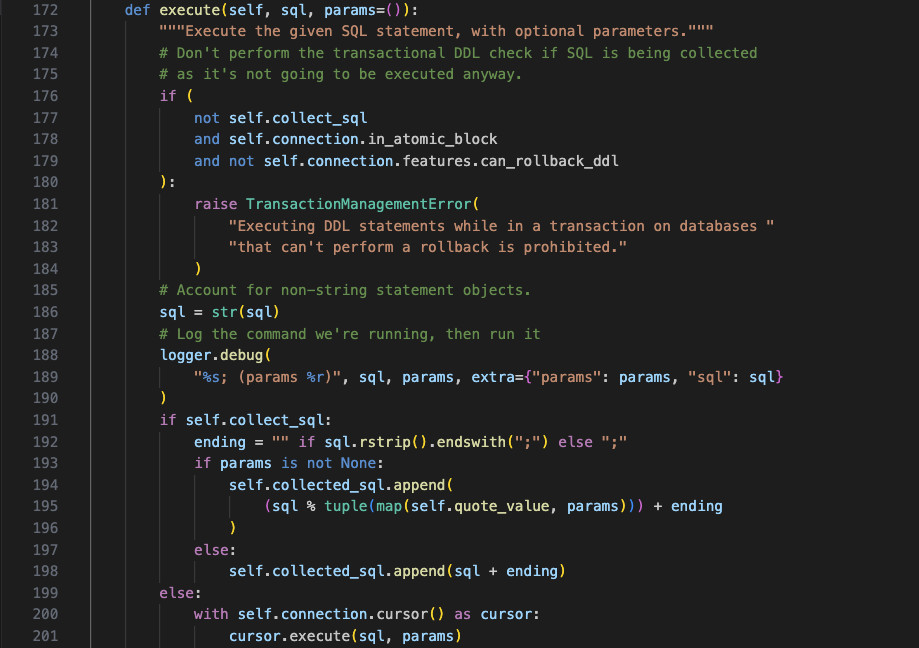
可以看到最下面,終於寫進了SQL啦!
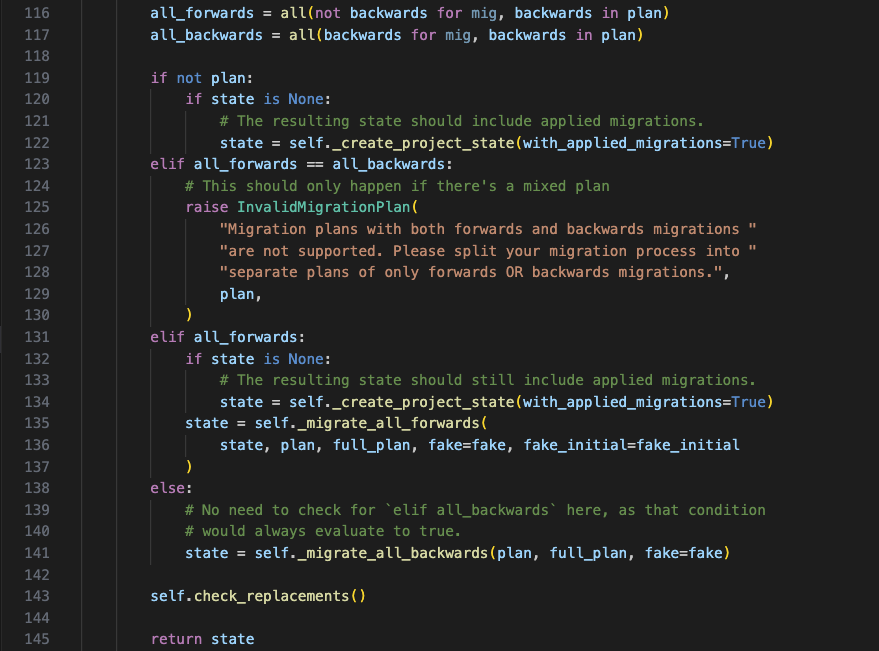
而我們再回到migrate那邊(django.db.migrations.executor.MigrationExecutor的function)
根據我的測試都流向

self._migrate_all_forwards()就會把我們所有還沒migrate的plan一個一個migrate上去!
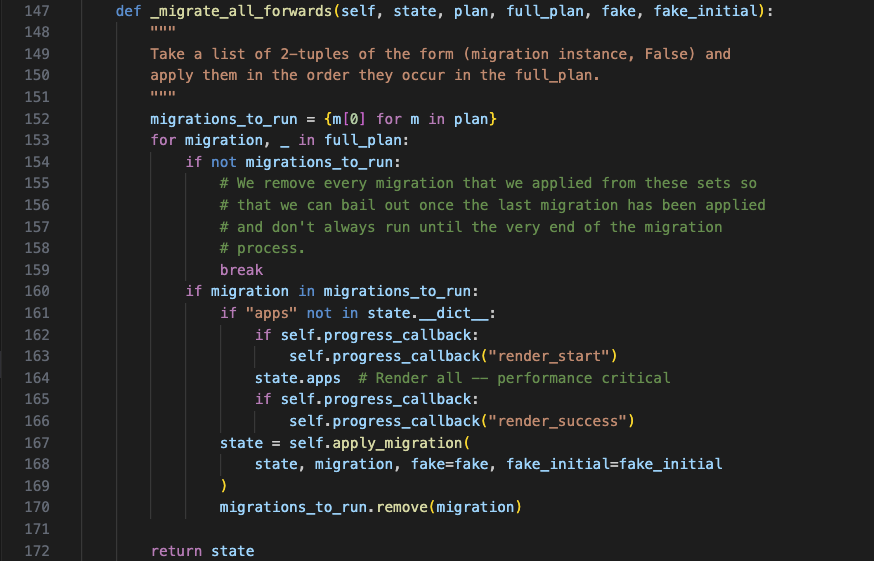
關鍵在self.apply_migration()那邊
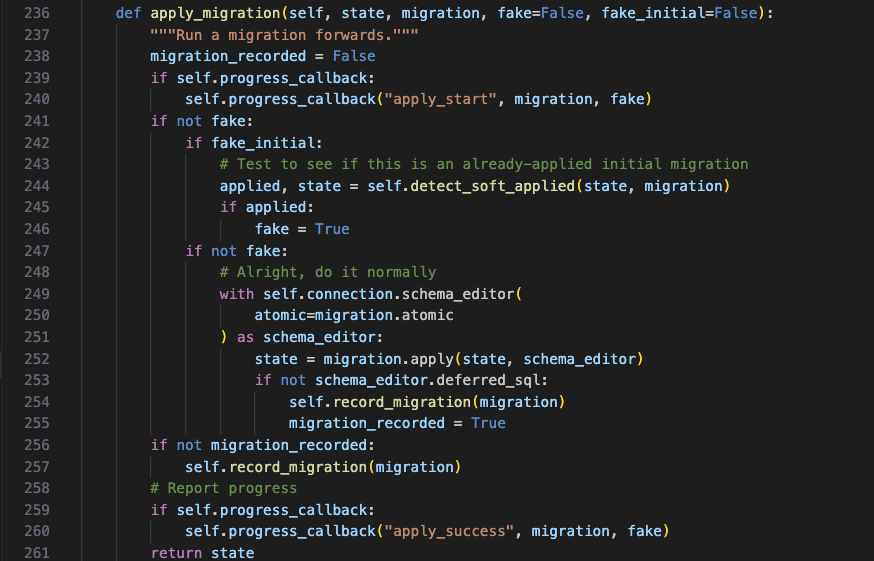
這邊就能看到我們上面提到的with self.connection.schema_editor()然後會由Migration去apply狀態和db,裡面細節我們也先跳過,接下來會去紀錄我們migration的歷程

寫進資料庫!

那migrate就差不多到這邊結束啦!後面return一個state還會發送一個post_migrate_signal()這個也之後再說吧!
結語
看了那麼久的migrate終於看到SQL寫在哪邊了,中間還挖了很多坑坑洞洞的,之後也不一定會補就是了XD
本日重點
- DatabaseWrapper.DatabaseSchemaEditor
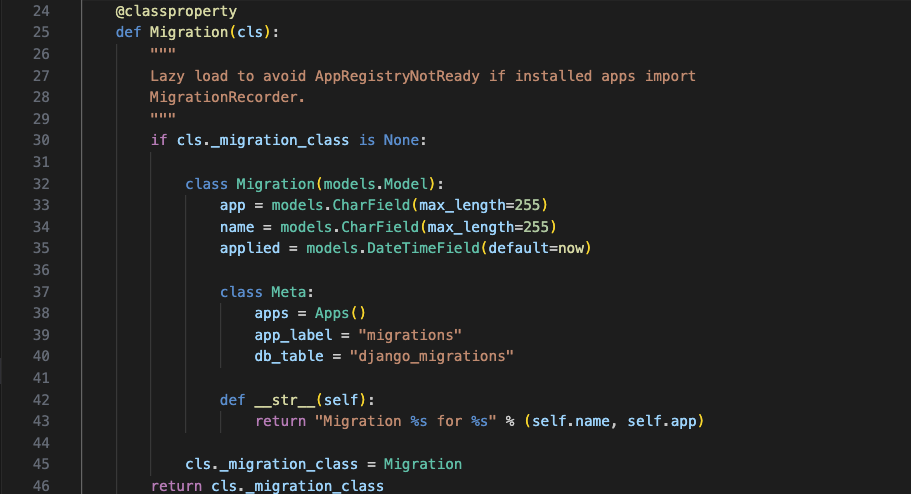
- django.db.Migration
依舊是會在一堆物件中作用,很容易就迷路了,可以邊看邊做記號!